When we moved into this house, I was pretty excited. We finally had enough space in the garage to have our own lockers. With 6 people in the house, it is hard to keep everyone's shoes, jackets, backpacks, and other goodies all together, and off the kitchen floor. I'm a big fan of organization. I love PERFECTLY clean homes. But, magically, one out of six people wanting a clean space, does not make a clean space. So we built our lockers to keep everyone's stuff out of my sacred zone.
We used the plans found here, Ana White Lockers, and then adjusted them to our own needs. Quite honestly, I have no idea about our measurements, or how they were built. I went away for a few days, and my hubby pulled it together while I was gone (for my birthday). Love that guy. Anyway, I came home and this is what I found. Also, because this is in our garage I went the "sturdy and cheap" method with our containers. Of course, I would love to have everything in beautiful wood baskets, etc... but it's not economically feasible, and let's be honest, kids need plastic sometimes. And wouldn't you know it, the hooks, were cheaper when bought already on a wood board. Who knew?
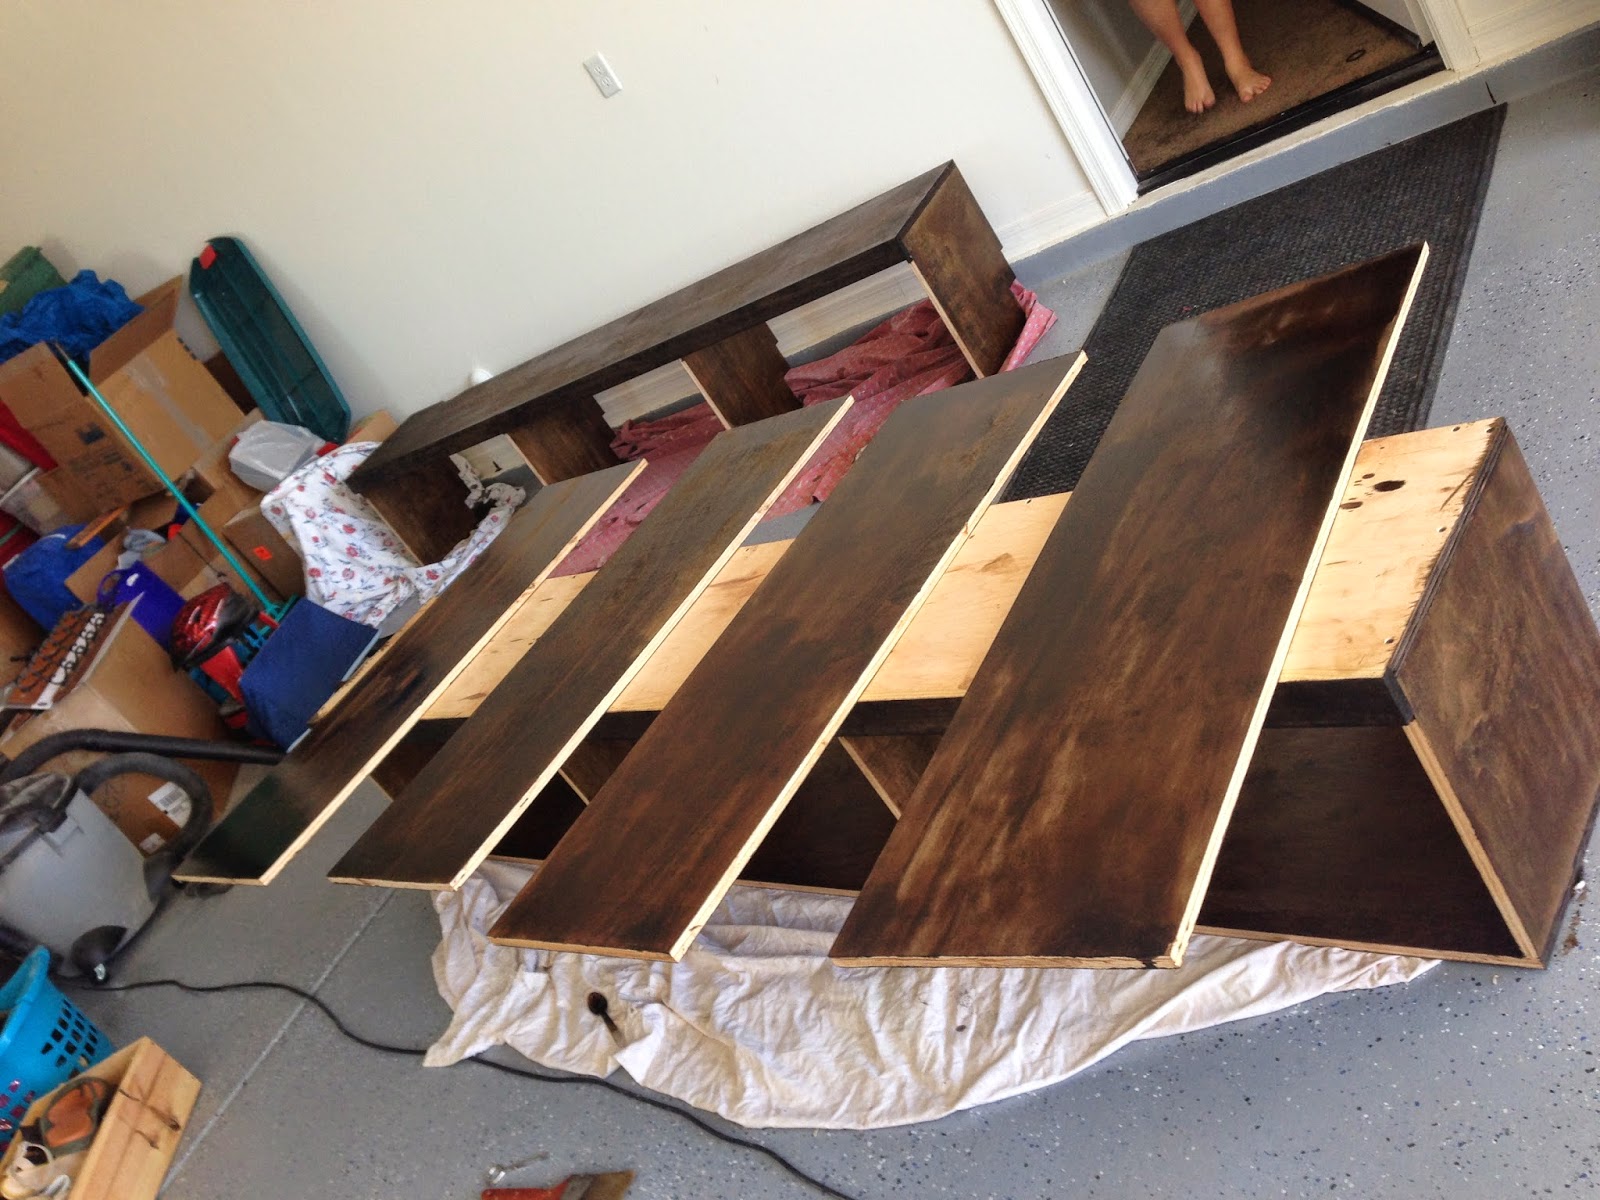
But this is only half. There are six of us, and we need all the help we can get. Now that I was home, the job of finishing it was up to me. I have to be honest, after moving in, I was tired. SUPER TIRED. We painted our whole house. Okay, not true, we left out the bathrooms, and the kids bedrooms, but it was a lot of painting. And, I sorta died. In comes, LAZINESS. I'm a fan of it. Plus, these lockers are in the garage. This is not in the house. We're looking for good. Not my best work. I mean come on. So, I used the polyshades. Here's my review of that...it's not as easy as one might think. It was hard to get it to go on evenly, and as much as I wanted it to be one coat, it for sure needed two. I kinda cried a little inside when my hubby saw the lockers after one coat and seemed disappointed. So, I vowed for the next set of lockers I would find a matching stain and and just stain it and poly separately.
So, for the next batch, I got stain, and went to town. I'll be honest. It was easier to stain this way, just brush on and rub off. Kinda easy. I love staining.
Here's the difference between the finishing methods. Honestly, I love the wood grain coming through with just the stain, but I love the warmth and character of the polyshades. I sincerely thought I would just throw on some poly after it was stained, and call it good. Uh.. no. It took just as much effort to put the clear poly on as it was to put on the polyshades. After all was said and done, I wished I had just stuck with the polyshades. But, it was a great learning experience.


No comments:
Post a Comment